Offline Mode
No internet connectivity? No problem. If you are collecting feedback in a location without reliable internet connectivity, use Offline Mode to gather responses.
Navigate to
When you’re gathering feedback from participants in the field – a resident census, in-store shoppers, or students in a remote location – internet access may be unsteady or even non-existent.
To run your survey offline, you’ll need a device with a web browser. Within our platform, easily generate a URL for use in Offline Mode, collect feedback, and sync responses once you have internet connectivity.
Generate an Offline URL
As strange as it may sound, an “offline URL” will allow you to collect feedback within your web browser, even if you’re not online.
- Select your project, then click on the Publish icon.
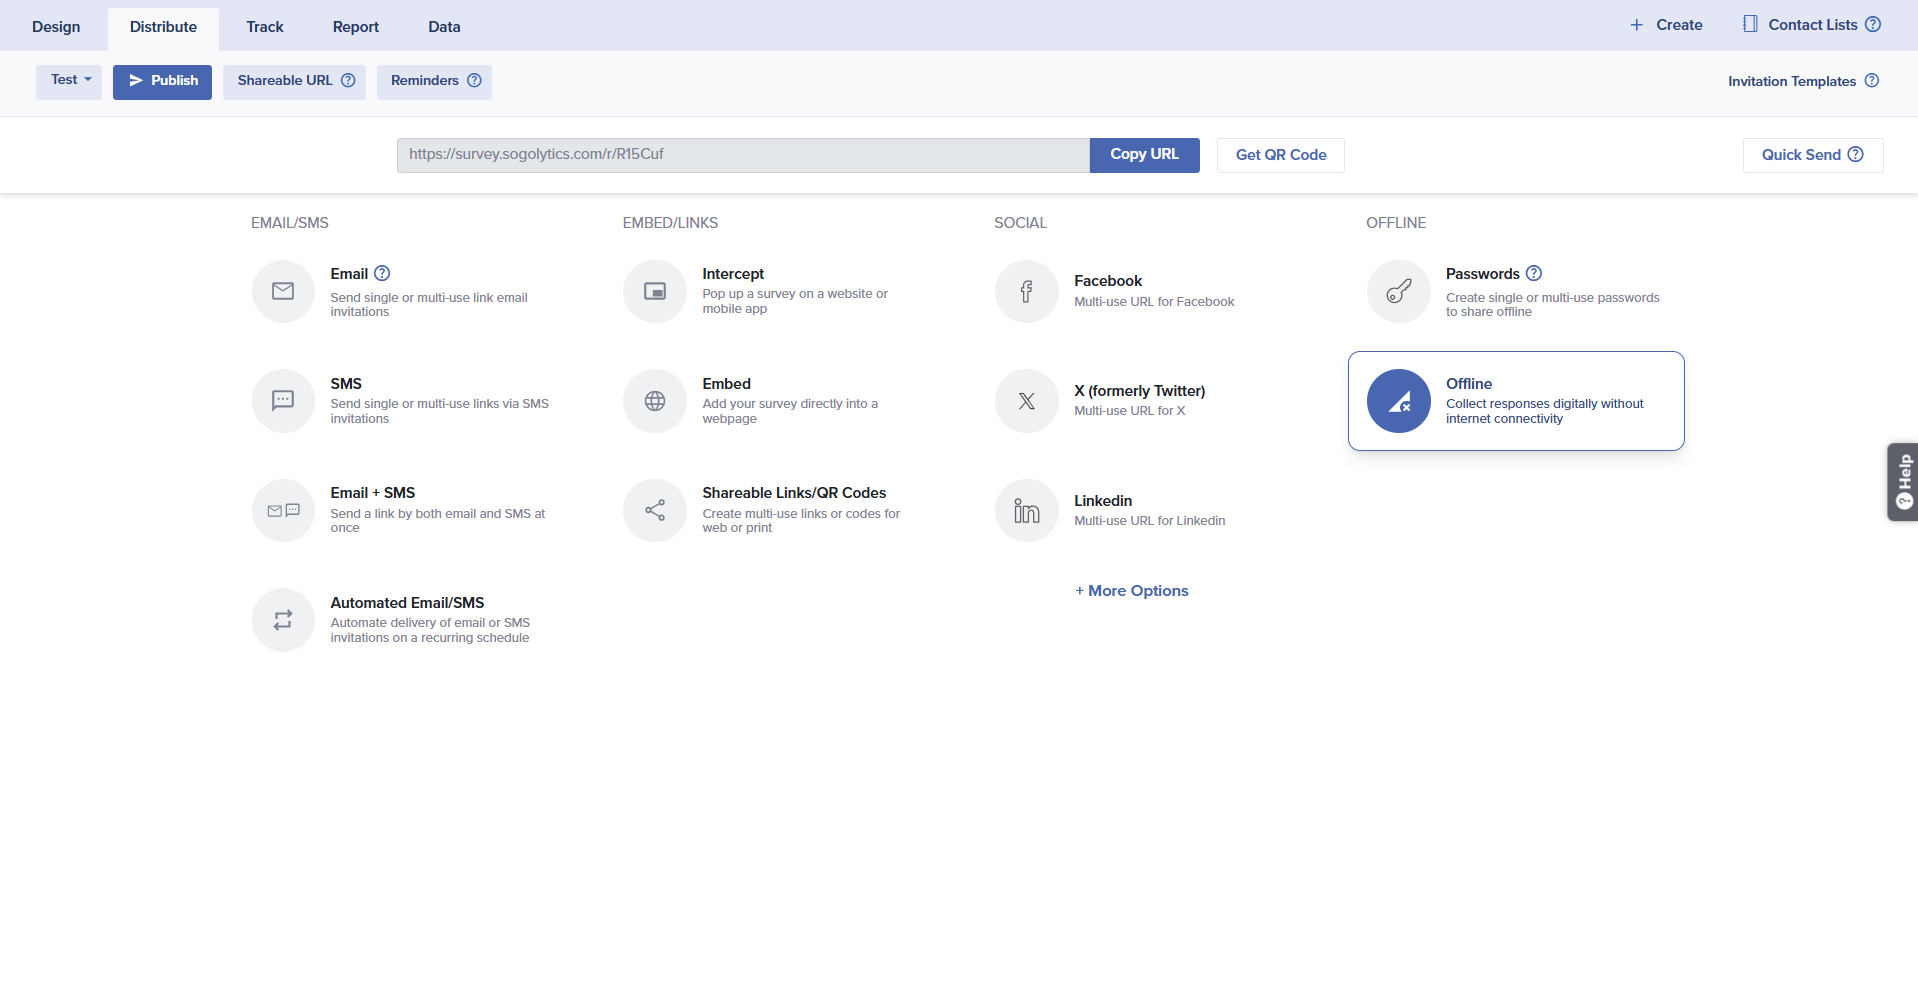
- Under Offline, select Offline.

- Under Review Compatibility, you’ll see an overall list of features that are unavailable in this mode. Learn more about how these features affect your project.

- Click on Continue.
- If you are ready to generate the Offline URL, click Got it.
- Next, customize your URL.

- Click Generate Offline URL.
- Once your URL is successfully generated, you may copy and share it with your team.

- If you publish this project again with this same distribution method, a list of previously generated URLs will be displayed, along with relevant status details.

- Total number of responses uploaded against each URL.
- URL Status
- Enable: This indicates that the URL is activate.
- Disable: This will deactivate your URL and no future responses can be uploaded through this link
Once this URL is disabled, any pending responses will not be uploaded.
- Hover over each link to copy.
- You can generate a new URL for same project by clicking on Generate New URL and following the same steps.
Features unavailable for participants in offline mode will be available if the project is published through other channels (email invitations, Shareable URL, etc.).
Set Up Offline Participation
- Load your offline URL in any web browser. We recommend you to use the latest version of the browser for a smooth experience.
- Next, to make it easy to return to this URL, you can choose to bookmark the link or add it to your home screen.

- Once you’re ready, click Let’s Get Started.
- To start the survey, click on Record Responses.

- Fill in the survey response.
- After a survey response is filled in, continue recording response by clicking on Record New Response or go back home.
Once a response is recorded, the Thank You Page will display for 20 seconds and return to the home screen automatically.

- On the home page, the cards on top indicate:
- Response Recorded: Number of responses recorded in your device
- Uploads Pending: The number of responses yet to be uploaded

- You can also delete or edit a response.

After 60 seconds of inactivity on the participation page, the survey will time out and the response will be recorded as incomplete and displayed under the incomplete response tab.
Upload Responses
Once you have recorded responses, it’s recommended that you upload them as often as possible. Since all responses are saved within your browser cache, you might otherwise run out of space to store more.
Upload responses as soon as the Upload Pending count reaches 100, to avoid slowing down the browser.
Here’s how you can upload responses:
- Once you have internet connectivity and responses, click Upload All Responses in the top right.

- The upload will start and sync with your Sogolytics account.
- Once uploaded, the responses will no longer be available in your device.
Subscribe for tips and insights to drive better decisions!


